
The Junkyard Jeepster Part 3: Custom Jeepster Subframe with Integrated Linkmounts
For this episode of the Junkyard Jeepster we’re focusing on mounting the transmission and building out the frame link mounts. Since they tend to occupy the same space, why not try to integrate them all together. The main goal is to end up with a flat belly pan which eliminates any opportunities to get hung up with low mounted crossmembers.
Achieving a flat belly pan requires us to design a drop subframe from the box tubing frame we previously built. First thing is to find out what part of the drivetrain hangs down the lowest. It’s usually the oil pan with most setups and especially the LS truck oil pans. We’ll probably end up swapping out the truck pan because it hangs down so much lower than the other parts of the drivetrain. There are plenty of high clearance aftermarket options or even some stock oil pans that will work out better.
In a previous article we built a custom frame out of 2”x4”x3/16” box tubing so this will be a perfect base to build off of. It’s always a good idea to try and build off a good foundation and tie everything together. The last thing you want is the subframe moving around a bunch, especially if it's holding the drivetrain and suspension together.
We designed the subframe to wrap around the box tubing frame and key off of it for a “universal” fit. This allows us to make any adjustments as needed and can be used in the future on other builds. The other benefit is we can shift the subframe forward or backwards to center the link mounts between the axles. If we can make it so all the links are similar lengths, we would only need to carry 1 spare link. Not that most of us carry a spare link everywhere we go but hey, it's always good to be prepared.
For this build we’re going with a 3 link front and a 4 link rear. We built all the link mounts to be a part of this subframe and added in easy areas that can be welded to the frame. Building link mounts is all about packaging. You want to get the most out of your suspension geometry but usually the vehicle has other plans.
Wheelbase and optimal link length will drive a big portion of the subframe design. This ultimately tells you where link mounts should end up on the frame. You want to have a good balance of wheelbase and link length. Without getting into the overwhelming amount of information for suspension geometry design, we were originally shooting for a wheelbase of 110” and a link length of about 40” for the front and rear.
The last important part of this subframe design is how to mount the transmission. We want to have our transmission tucked up above the lowest part of the belly pan skid plate. This will protect against any impacts hitting the transmission and potentially cracking the aluminum casting. We also want to be able to remove the skid plate without also removing the transmission mount. By making these 2 individual parts, maintenance will be so much easier.
Here are all the parts freshly laser cut for the passenger side. The parts that needed to be bent were kerf cut and bent on the vise.
 We added in tabs and slots to make the assembly process go much quicker. Having all the pieces key together will increase the strength and prevent warping when welding everything.
 These 2 pictures show how some of the pieces are interconnected. This takes the guesswork out of where it goes and keeps all the desired mounting angles.

 We wrapped the upper link mounts around the frame to give us easy strategic areas to weld to the frame. The box tubing also acts as a welding fixture to keep everything straight.
 For the front 3 link we don’t have an upper mount on the driver’s side so we added in a fish plate to strengthen the lower mount below it. It’s always a good idea to think about the forces these will be put under and how you can prevent failure.
 Once again we tabbed in the lower side plates to give us some added strength and accurate bend angles.

 Even with these subframe sections tack welded they are incredibly strong. We placed them on a spare section of box tubing and prepared them for welding.
 Here are both sides fully welded up. Since we don’t have access to a CNC bender, there ended up being a lot of welding. With everything keyed together there was absolutely no warping!

 Here’s how the subframe parts sit on the frame. The driver’s side is just tacked together in this picture. Both parts were fully welded on the bench and then tacked to the frame. Gives you a good idea of what we’re shooting for; the flat belly pan.
 The upper mounts we tucked up as high as we could get them to the floor pan and also added in a small amount of adjustment.
 When we were mounting the drivetrain, the transfer case was left off. Looking under the Jeepster we can see why. Jeepsters were set up for a passenger side drop transfer case and with the new drivers drop there is no room for our new case just yet. Time to break out the angle grinder or sawzall and cut the floor out. We started small and then opened it up until it just barely fit. No reason to make more work for yourself and have a giant hole you need to fix.
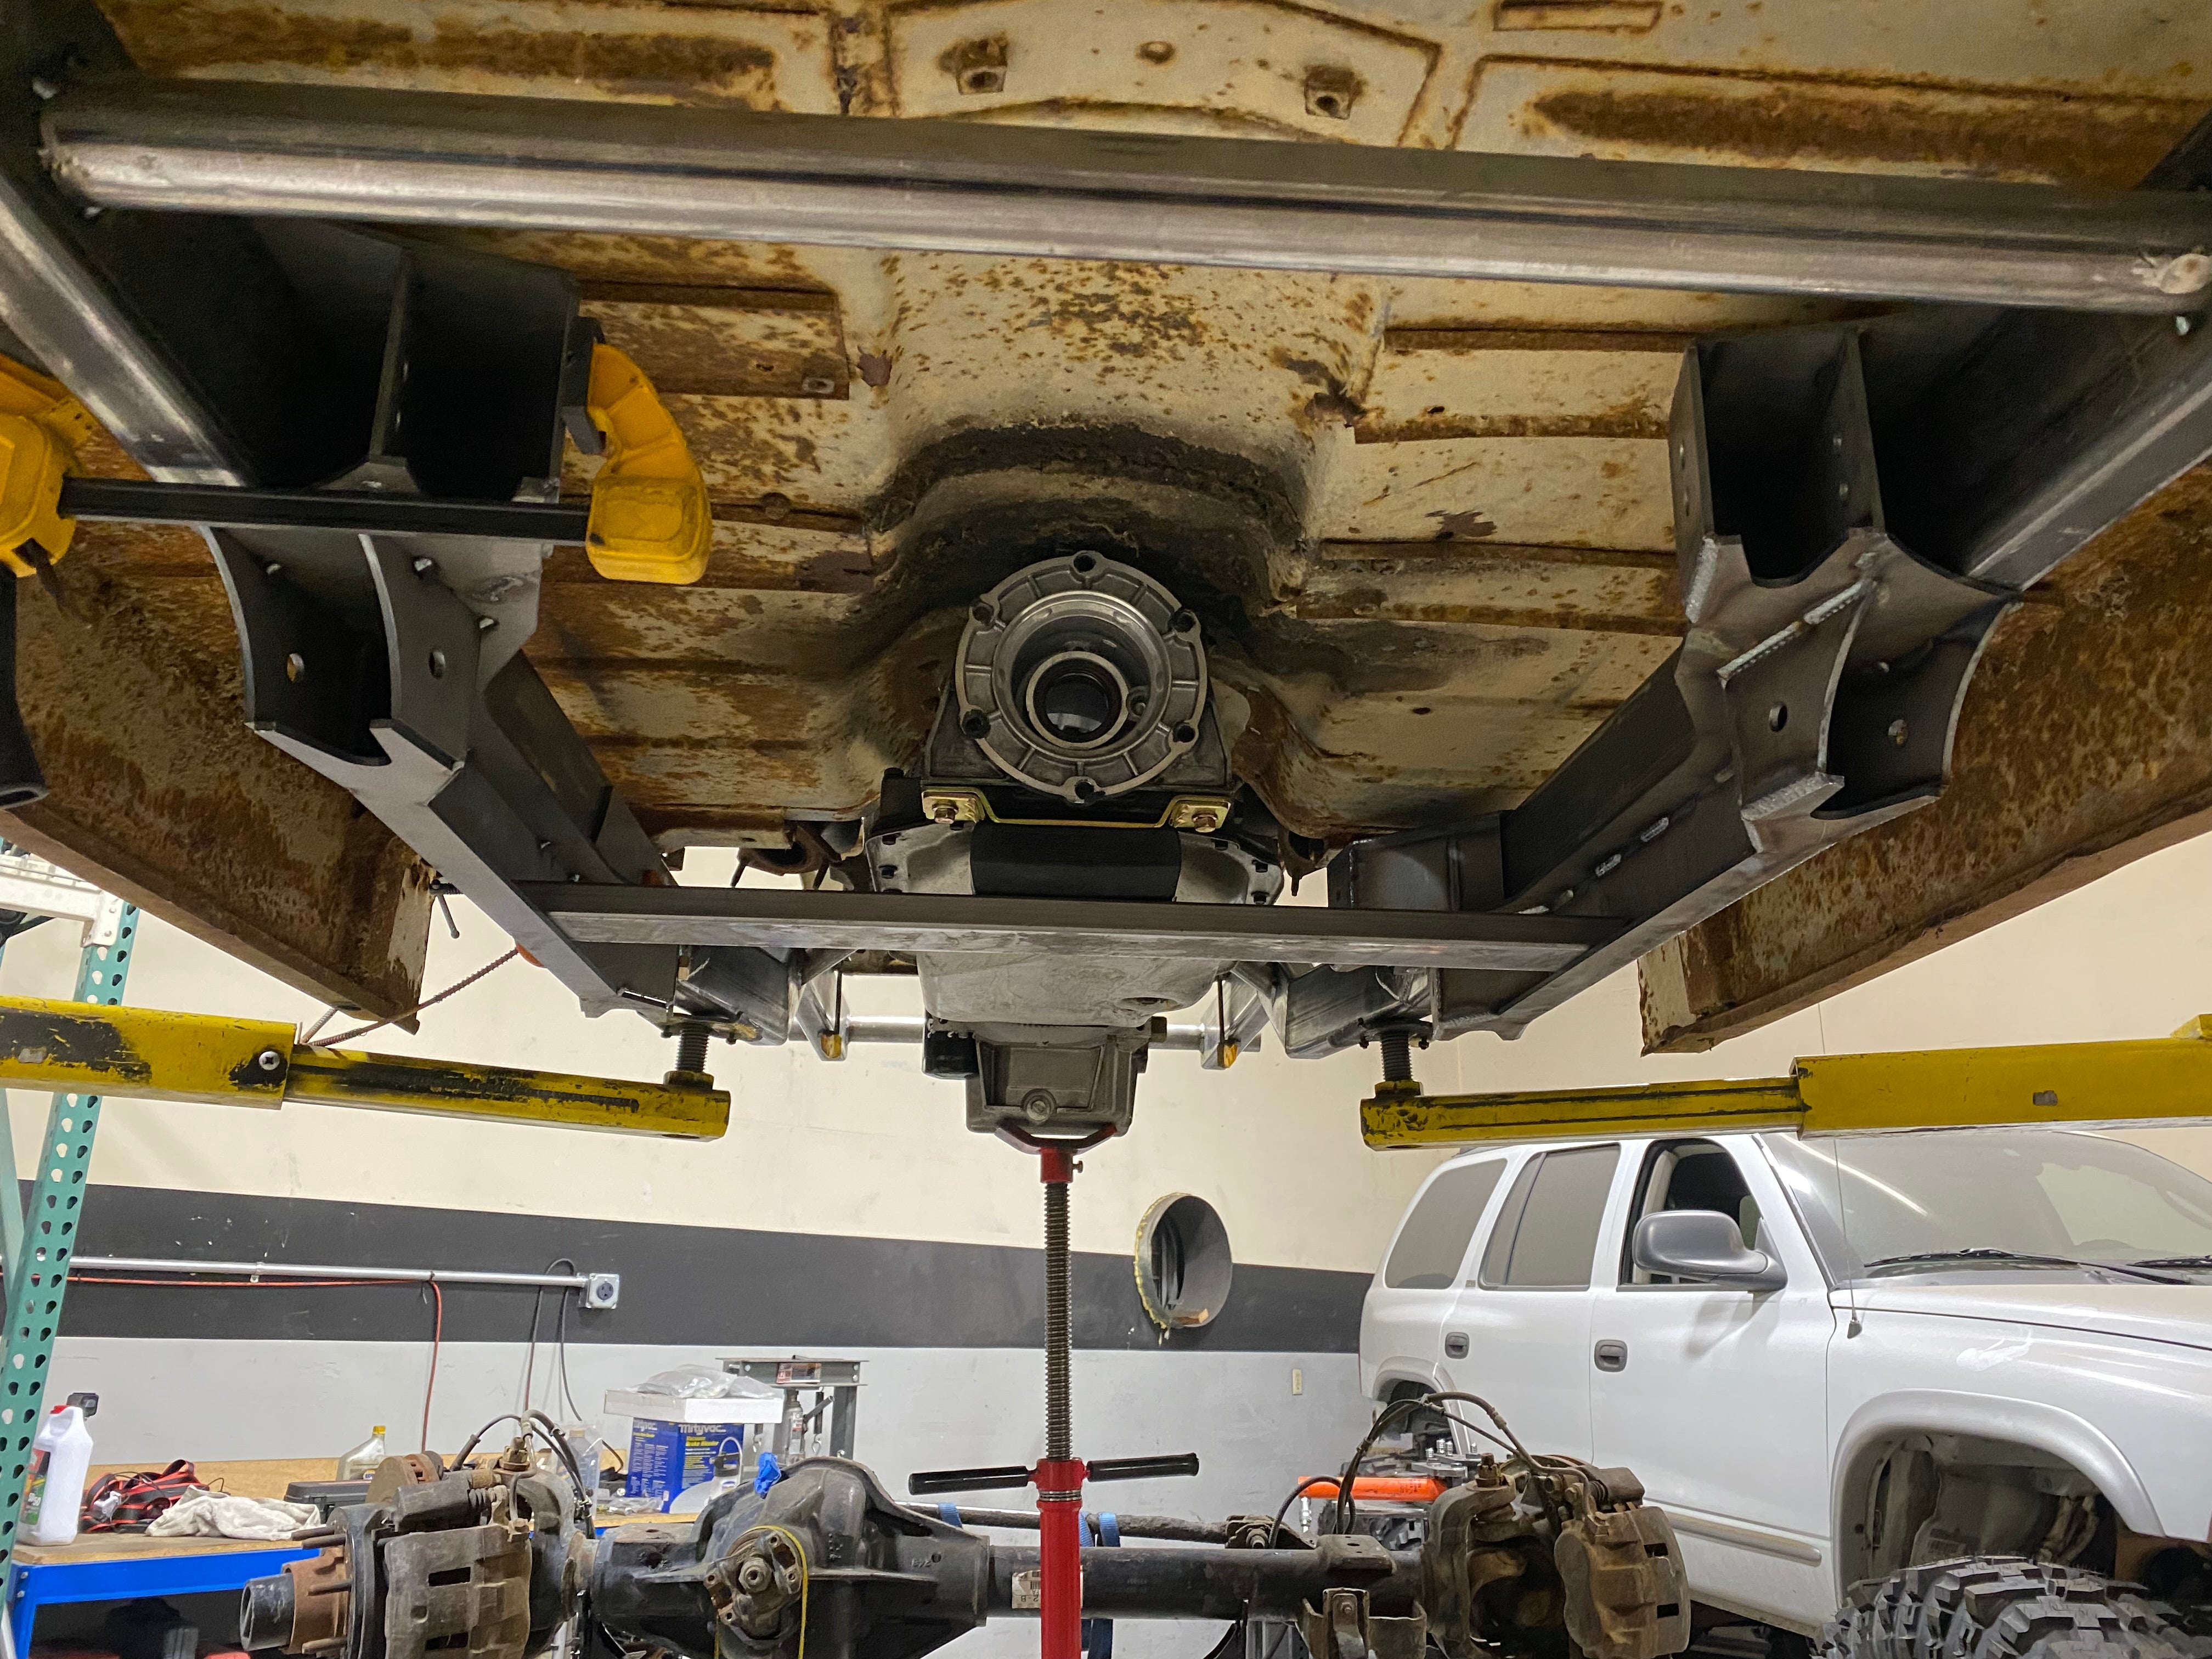
 After we had the transfer case mounted it was pretty obvious that the stock orientation was going to hang down too low for a flat belly pan. Here you can see the stock orientation hangs below the subframe mounts. Obviously this won’t work with our goal.
 Luckily plenty of companies make a clocking ring for our transfer case. This allows us to have a ton of options to angle our transfer case up and out of the way. We used one from NWF and it included all the mounting hardware.

Once we got the correct angle on the transfer case, we worked up this transmission crossmember. It ties into the subframe and mounts from the inside. It's tucked up above the lowest line of the belly pan to help prevent any hard impacts on the transmission. We kept it simple by using some 1.75” 0.120” wall DOM tubing.


That wraps it up for this time but next time we’ll start working on the axle mounts.
For more content like this, check out CRAWL Magazine.