
The Junkyard Jeepster Part 2: LS Swapped Jeepster and Mounting the Drivetrain
Everyone loves a good LS swap. These days, it seems like everywhere you look there’s an LS. When it comes down to it, they’re just hard to beat. Cheap, reliable, easy to work on, and all the parts are readily available. Well it looks like you know where this is going… we’re putting an LS in the Junkyard Jeepster.
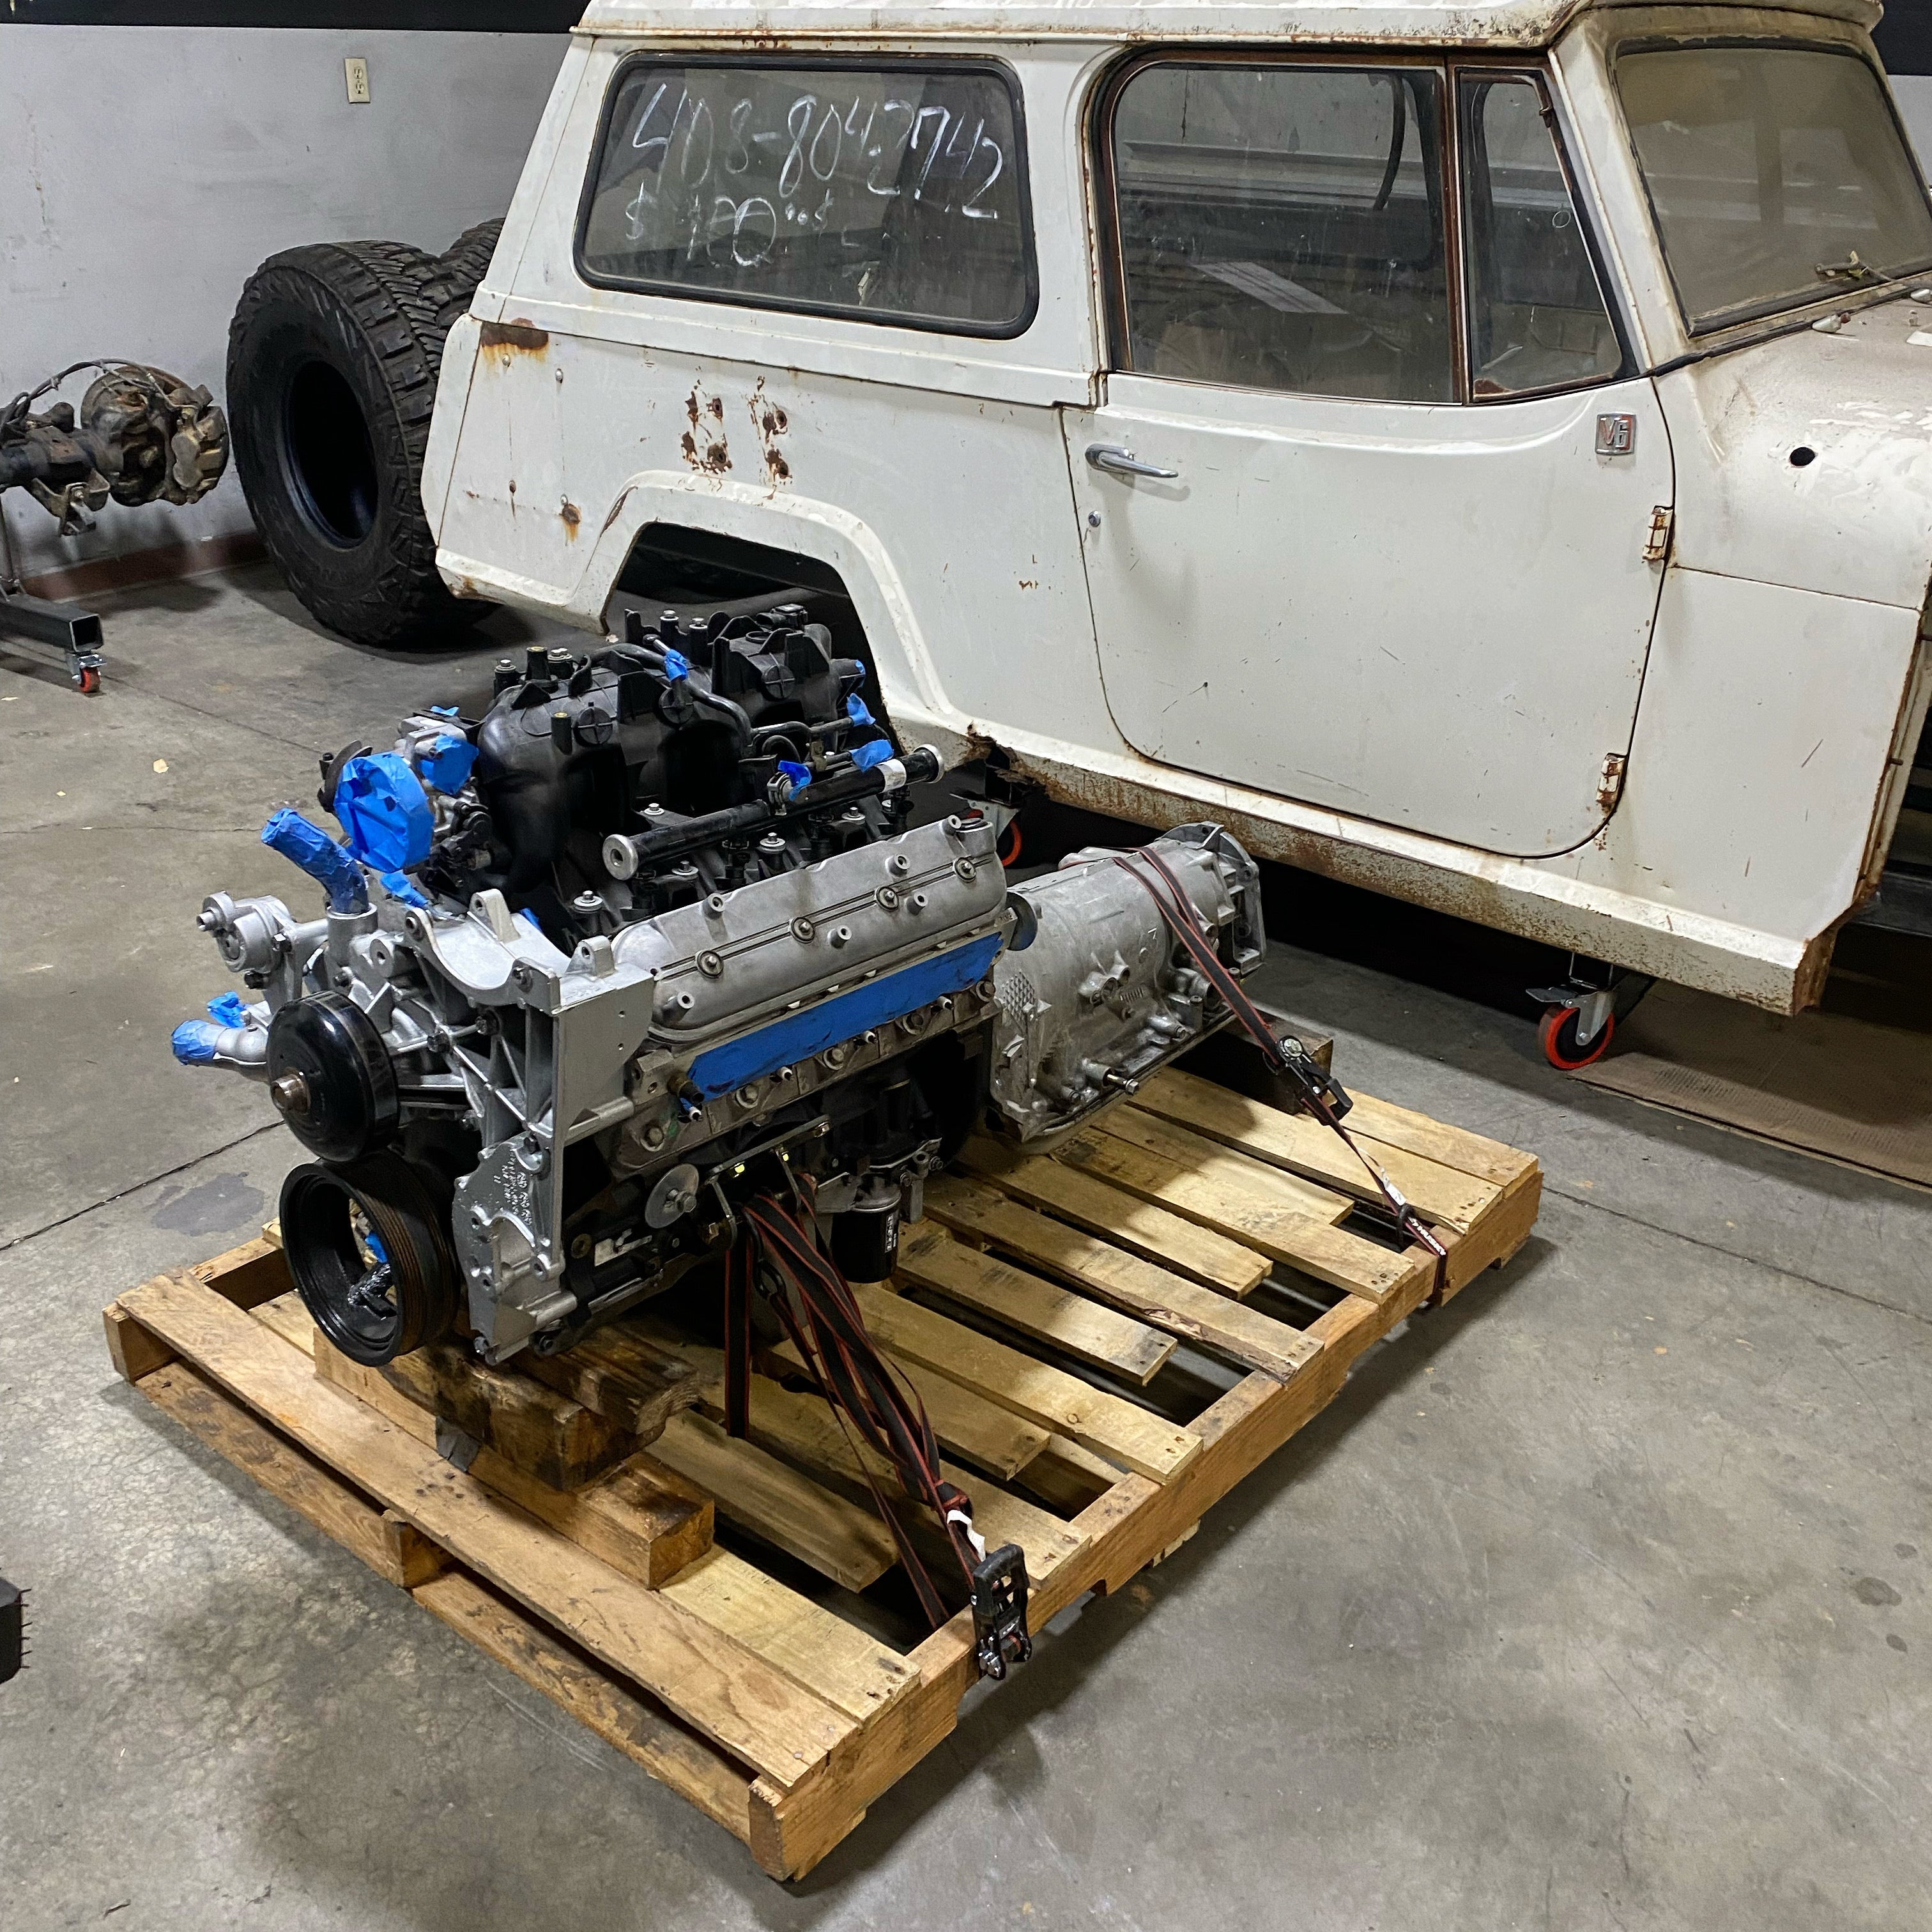
We pulled an early 5.3 LS from a junkyard a couple years ago for about $400. Dragged it home and did some basic engine diagnostics. The leakdown test showed almost perfect numbers and when we looked inside the cylinder walls, the cross hatching was still very apparent. Once we gave ourselves the green light that this engine was going to work, we decided to freshen it up with valve cover, front timing cover, water pump, oil pan, and intake gaskets. The oil pump is a known wear item, so we figured we might as well swap it out now when we have easy access to it. Last item for the engine is to give it a good cleaning. Our engine had around 180,000 miles on it and it definitely showed. Time for a little elbow grease.

The next part of the equation to figure out was the transmission and transfer case. Keeping with the theme we picked up a 4L80E and an NP241 from the junkyard. They each cost about $100. We were debating on whether or not to go with the 4L60E vs 4L80E but ended up settling with the 4L80E for strength reasons. The downside of the 4L80E is the gear ratios are a little higher, numerically lower, which doesn’t give us quite as good of a crawl ratio. The 4L80E gear ratios are: 1 - 2.482, 2 - 1.482, 3 - 1.00, 4 - 0.750, R - 2.077
The 4L60E gear ratios are: 1 - 3.059, 2 - 1.625, 3 - 1.00, 4 - 0.696, R - 2.294
The NP241 can be found in almost every junkyard. We pulled one from a one ton truck that already had the 32 spline input that matched up with the 4L80E. The NP241 is a good option for a cheap, strong, and pretty decent low range transfer case. The gear ratio is 2.72:1. We figured if we need lower gears, we can find an NP205 and use the internals of the 241 for a range box. That’ll give us a doubler transfer case with the gear ratios 1:1, 1.96:1, 2.72:1, and 5.33:1. We’re going to run it as is to keep things cheap for the meantime.
Now comes the fun part, mocking up the drivetrain in the engine bay. To make things easier we decided to gut the transmission and transfer case. We’re going to go through and rebuild both of them so why not make it easy to move around. For the initial placement we left the transfer case off the back of the transmission so we didn’t have to cut the floor pan just yet. The main goal for the placement is to get the engine and transmission up as high as possible and tucked as close to the firewall as we can get it. The Jeepster’s engine bay was originally designed for a 6 cylinder, so we had to get creative to fit this V8. This is the first mock up of where the engine will sit. Notice how much room the original radiator shroud takes up.
 We cut down the front grill’s radiator shroud to give us extra room for the radiator and electric fan. It’s a good idea to look into what radiators/electric fans are available to see how much additional space you’ll need in front of the engine. We left the stock grill mount for now but it looks like we’ll have to cut it out later. Here’s the result from trimming the stock shroud. Now we have much more room for a radiator and electric fan. If we still need more room we can look into converting the truck serpentine system to the car serpentine system.


For the final placement we tilted the engine back about 5 to 6 degrees. This helps with the oil flow and allows the cylinder head steam ports to vent back into the cooling system. The vents in the cylinder head are important to not overlook. The idea is to try and lead any air bubbles towards the top which get vented back into the cooling system. If the air bubbles are trapped in the cylinder heads, there is a possibility of creating hot spots leading to issues such as overheating, detonation, and pre-ignition.
With everything where we want it, we can work on motor mounts. We designed some custom offset motor mounts. This gives us more clearance to run the exhaust and front link placement. We built the mounts out of ¼ ``steel and used 4 bolts per side to bolt them to the engine block, then we tied the motor mounts to the frame with a piece of 1.75” DOM 0.120” wall tubing. Later in the build we’ll tie into them to make an oil pan/belly pan skid plate. Here are the custom LS Motor Mounts. We chose to offset them forward for exhaust and link clearance. The higher up we can get this mount the better.


With the motor mounts tacked in place, the supports can be removed. Next on the list is to tackle the transmission mount and frame link mounts.

For more content like this, check out CRAWL Magazine.
