
The Junkyard Jeepster Part 1: Custom Jeepster Frame Build
Our newest project is a 1967 Jeepster Commando, we’re calling it The Junkyard Jeepster. The idea behind this project is to try and use some readily available second hand parts found at the junkyard or on craigslist/Facebook Marketplace. We’re going to try and keep it relatively “budget” minded but will spend the money where it counts.
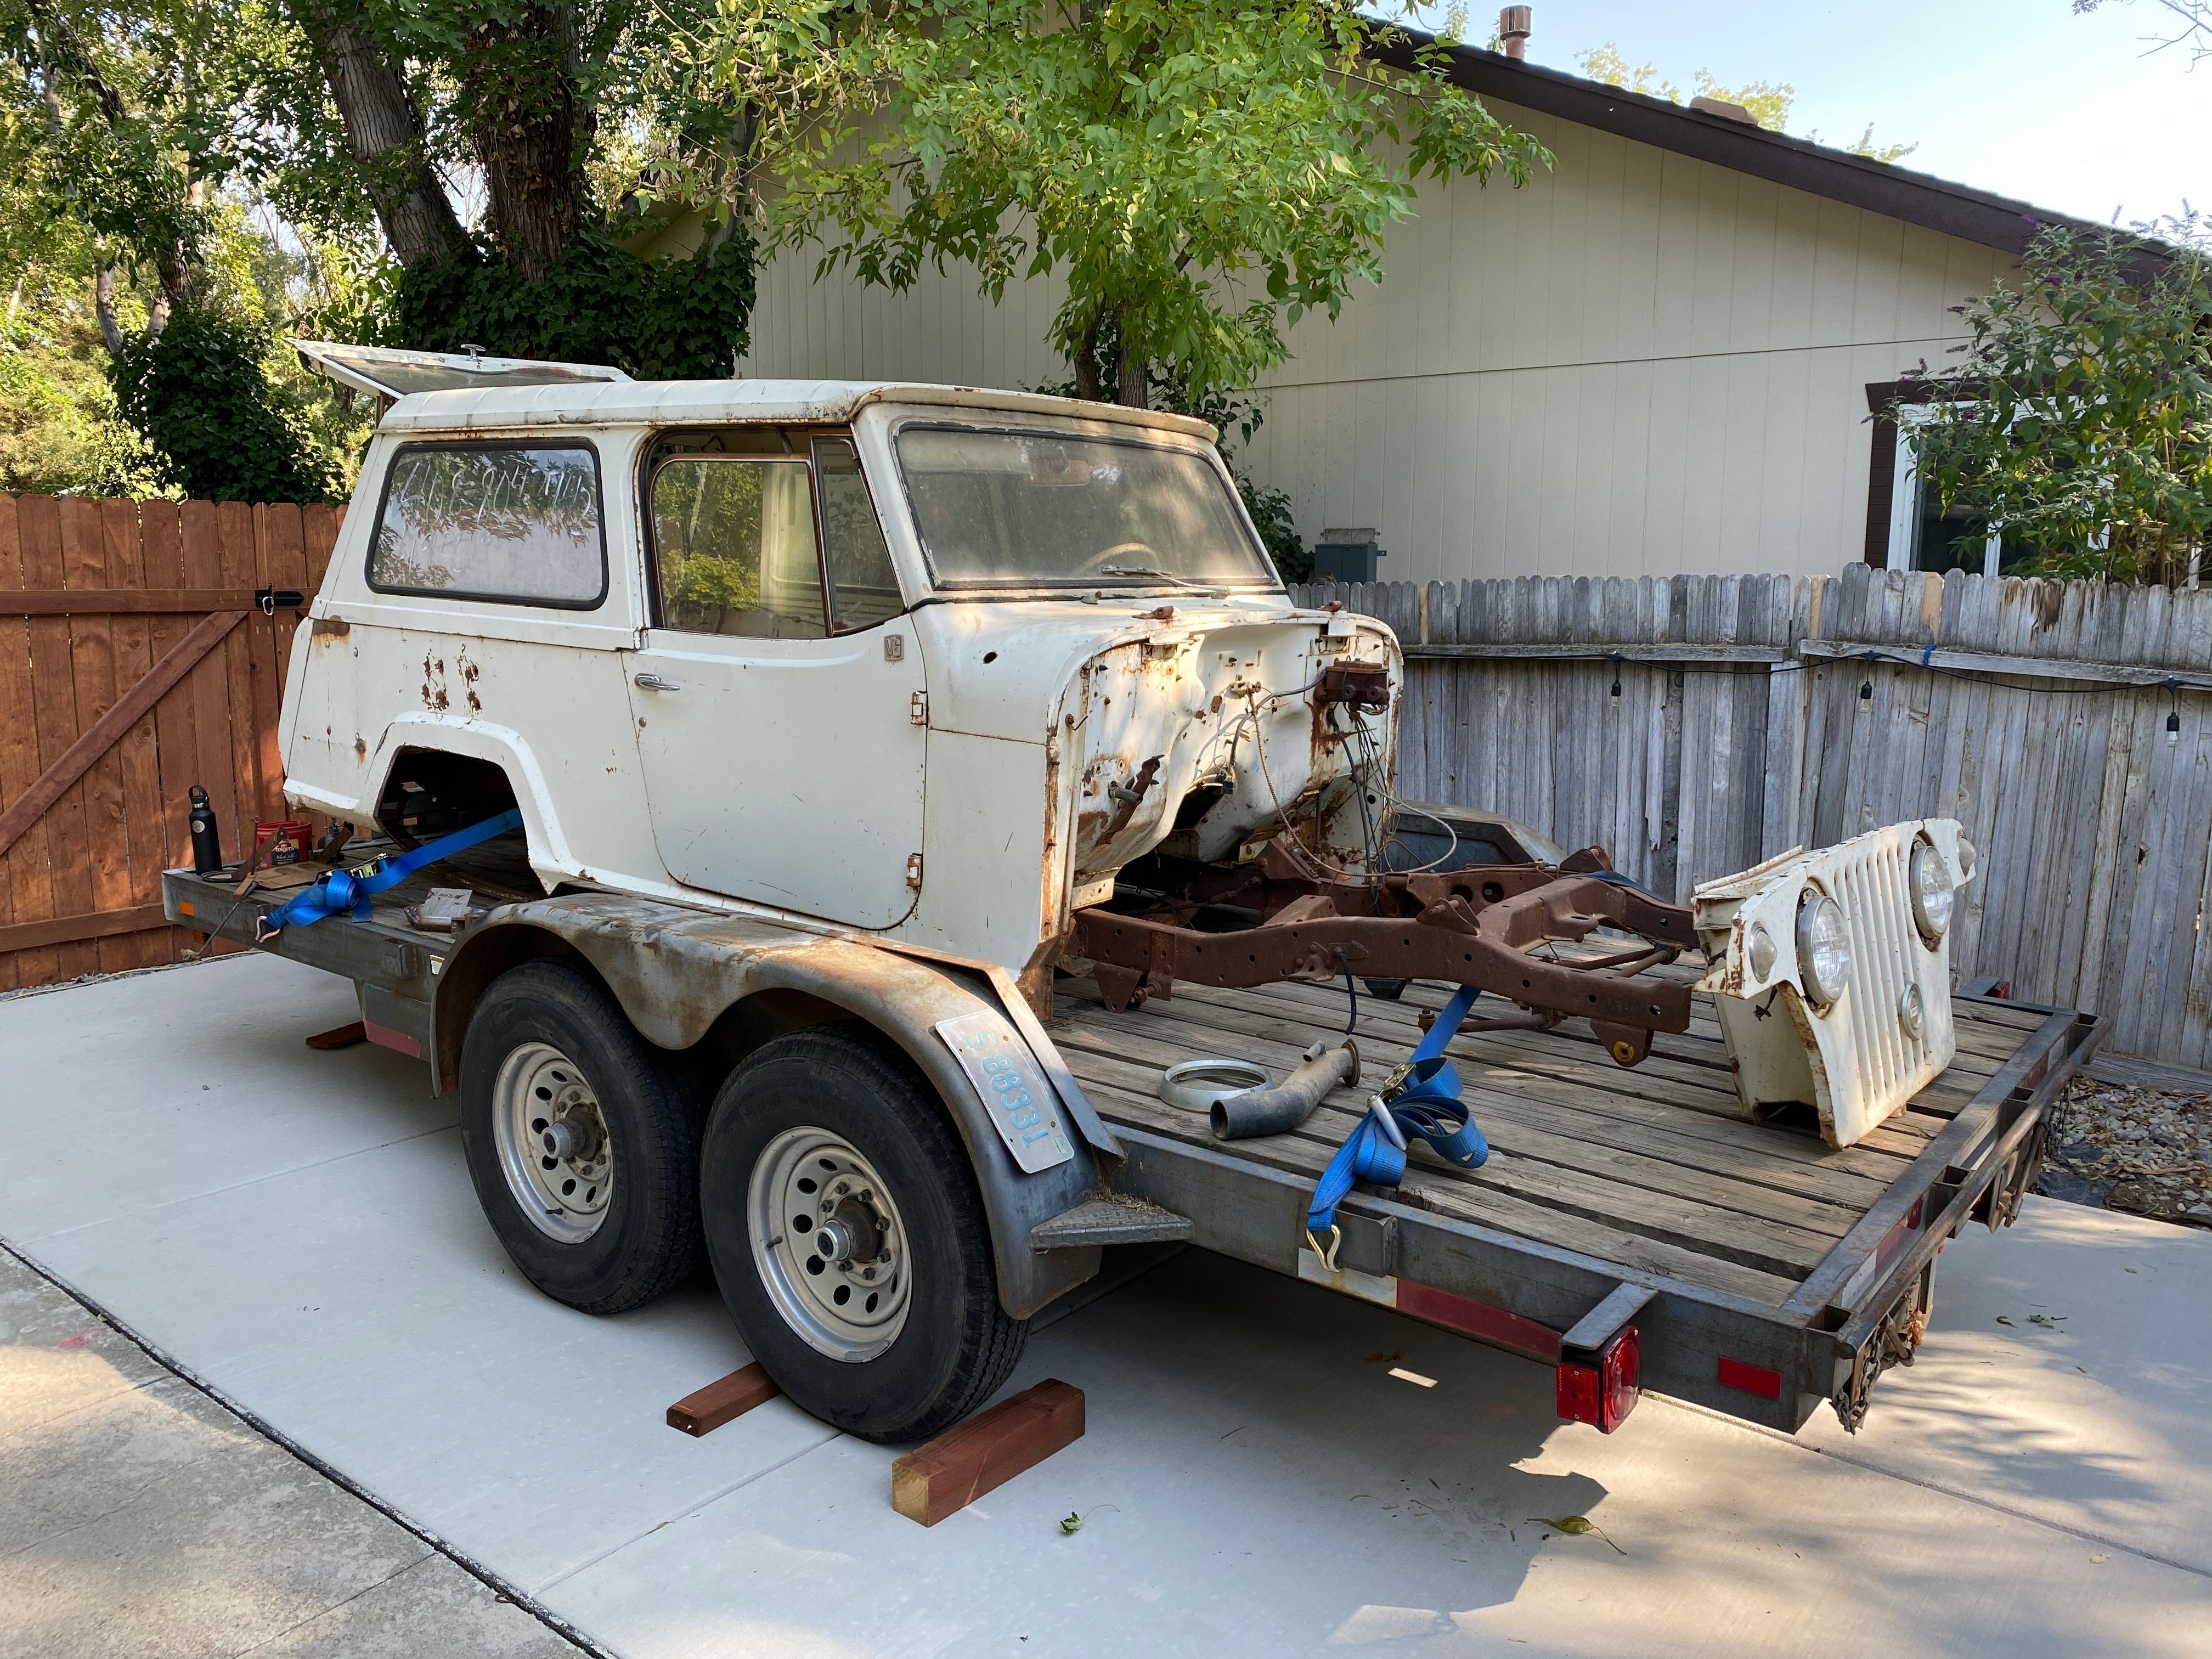
Picture this: You finally drag your new project build home, unload it from the trailer and start looking over your newly prized possession. You start to see a little more work and maybe a little more rust than you originally thought, this is when it finally sinks in... Now what? Where do I start?

We had the same reaction once we unloaded our new Jeepster project. All the ideas rushing in: cut here, patch this, new axles, big tires, new suspension, blah blah blah you get the idea. The biggest hurdle is how and where to start. For us, the starting point stood out. The stock frame was rusted, cracked, and had evidence of repairs made in the past. With any project the most important part is the foundation, so let’s build a custom frame.

There’s a lot of flexibility in building a custom frame for your project. You can tailor it to your specifications and lay it out based on what your project needs. Start with the things you know are going to be in your build. For our project we will be incorporating a V8 LS engine, 4L80E transmission, ideally an atlas transfer case but more likely a junkyard doubler, one ton axles, and coilovers front/rear.
Now we can look at getting some general dimensions for the frame. If you have the stock frame, like we did, it makes getting a baseline much easier. We measured overall length, width, any height changes, stock engine mount locations, and body mount locations. Then we took some measurements from the body to see where and how the stock frame fit.
Here comes the fun part. You can start changing the frame for your project’s benefit. From past experience, we knew that Jeepsters had pretty narrow frames and an atlas that’s been clocked flat won’t fit between the frame rails. We made a note to make the center section wider than stock so we won’t have to worry about running into that. We also have seen LS engines fit between the stock frame rail width in the front, so no need to change that. Keeping the front frame rail narrow will also help make room for steering the front tires. The new frame needs to have clearance for the front and rear axles articulating so those sections will need to be raised.
With a general idea of how the frame should look it’s time to get to work. We chose to use 2”x4” 3/16” thick steel box tubing to build the frame. This will give us a nice solid foundation to build off of without worrying about it cracking in the future. Thinner box tubing could have been used but we already had some material on hand. Since we’re working in our own shop, we have access to tools that make the job a lot easier but by no means necessary to get the job done. We used an Ellis saw to cut the box tubing but you could mark out the tubing with a sharpie, cut it with an angle grinder, and produce the same result.
Here's the first section of the frame coming together. We started with the center to rear section because it only needs a transition in height not width. Using the fab table and some small fixtures we made both frame rail sides at the same time.
 The rear portion of the frame has a piece of 1 ¾” DOM 0.120” wall tubing for a rear crossmember and also allows us to use it for a rear swaybar. A helpful tip when building frames like this is to add a couple of temporary braces that are just tacked in place. It helps keep everything square and adds more structure while adding in the other sections of the frame.
 At this point we designed and plasma cut some body mounts. The bend lines were cut out so we can bend them by hand and weld up the seams. We added a small cut line in the center of the body mount to make lining them up on the frame easier. It’s always nice to add in the small details that make things easier for yourself.


Here's the rear portion of the frame, all tacked together. Notice the two braces in the center of the frame. These will be taken out when the frame is finished up.

The Ellis Saw is an awesome tool for building frames like this. The only problem is you have to get a little creative when doing compound cuts. We made a custom wedge block that allowed us to get the 2 angles we needed. This will be for the front portion of the frame that needs to change in width and height.

Here’s the result of the compound cut. When joining two pieces of box tubing, it helps to bevel both mating edges. This makes sure you have enough weld penetration and produces a strong joint.

And here is the front section of the frame all tacked together. In the front we added a crossmember similar to the rear.

With the frame tacked together, now’s the time to test fit it. This gives you an opportunity to make any changes that might be needed.

Everything lined up where we wanted it, so we pulled the frame out and started welding it all together.

We went ahead and added frame fish plates to the transition pieces of box tubing. These help tie the pieces together and strengthen the joints.

Here is the fully welded frame being put back under the Jeepster and bolted in place.

We decided to leave the front portion of the frame just tacked for now just in case we wanted to make some changes.

Some tips for building your own frame. Keep it simple. There’s no need to overcomplicate things or try to match the stock frame exactly. Find the critical dimensions, such as body mount locations, engine mounts, and focus on building around those. We kept our frame flat in the center, raised in the rear, and raised/narrowed in the front. Also, remember the first design doesn’t need to be perfect. You can always modify the design later on.

With the frame finished, time to start moving onto the more important stuff… LS Swaps!
For more content like this, check out CRAWL Magazine.
